In this post, we guide you through another methodology to develop ML Models; Data Scientists and AI Developers, this one's crafted specially for you - Develop ML Models using the Azure Machine Learning SDK for Python.
Before we guide you through an expansive procedure on the development and deployment of a ML Model using the Azure ML SDK for Python, let's talk a little about the service at hand.
What is the Azure ML SDK for Python ❓
Interacting with the Azure ML service has never been easier. The Azure ML SDK lets you interact with the service from any Python Environment - including Jupyter Notebooks, Visual Studio Code or your favorite IDE.

A few features of the SDK, which make your experience Smoooooooooth are as follows:
- Explore, prepare and manage the lifecycle of your datasets used in machine learning experiments.
- Manage and monitor cloud resources for your machine learning experiments.
- Train models either locally or by using cloud resources.
- Capability to use the other Azure ML services within itself - Automated ML or Designer. It iterates through algorithms to find the best model for running predictions.
- Deploy web services to convert your trained models into RESTful Services that can be consumed in any application.
Wow, those were a lot of features ‼️
Now, sit back while we guide you through an in-depth understanding of how you'd use the Azure ML SDK for Python to build a ML Model.
Let's Build a Model 🧠
The Model we chose to build deals with Crop Recognition. It performs the basic task of Identification of Crop Types, which can be used as an integration with Agricultural Based IoT Devices.
The Model chosen here, is a Convolutional Neural Network (CNN) which falls under the category of Deep Learning Models, a subset of Machine Learning.
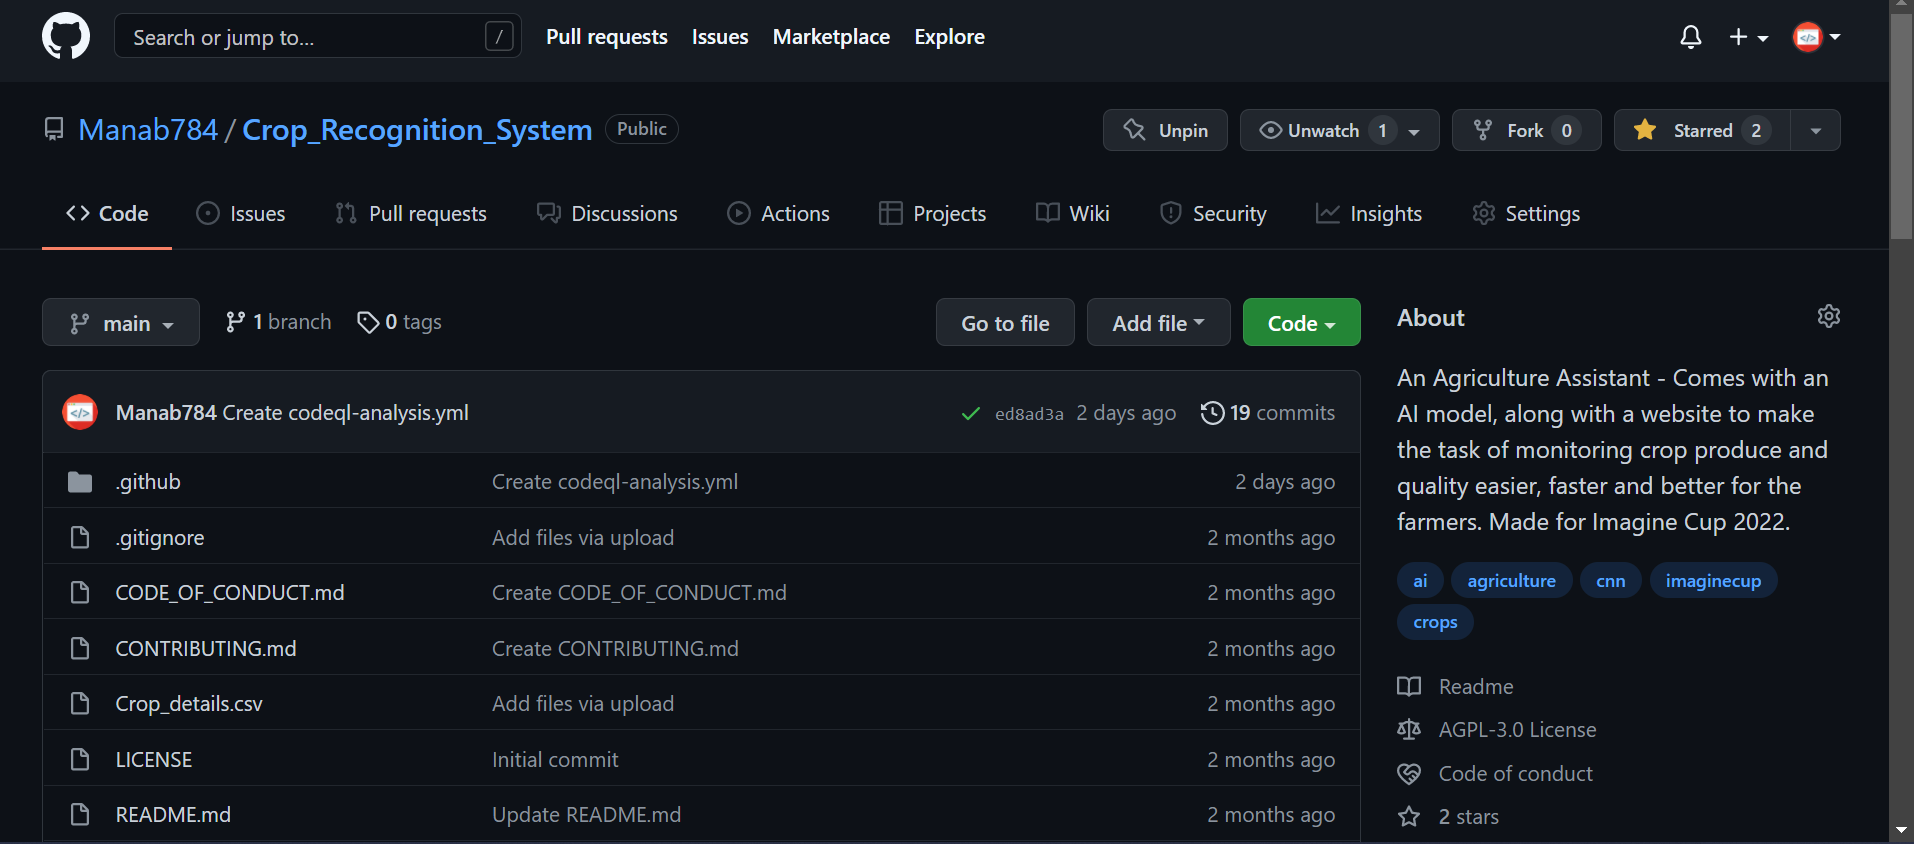
This is the link to the GitHub Repository containing all the required code for building the Model.
Step 1
*Installation of the Azure Machine Learning SDK for Python
To Install the Azure ML SDK for python, run the following command on your terminal:
pip install azureml-core
Note: Make sure your pip version is up-to date.
Step 2
Setting up your Azure ML Workspace
Run the following code on your terminal, to set up an Azure ML Workspace:
from azureml.core import Workspace
ws = Workspace.create(name='myworkspace',
                      subscription_id='<azure-subscription-id>',
                      resource_group='myresourcegroup',
                      create_resource_group=True,
                      location='southindia'
                     )
Note: Change the location field to a desirable Azure Region near you !
Use the same workspace in multiple environments by first writing it to a configuration JSON file. This saves your subscription, resource, and workspace name data.
ws.write_config(path="./file-path", file_name="ws_config.json")
Load your workspace by reading the configuration file.
from azureml.core import Workspace
ws_other_environment = Workspace.from_config(path="./file-path/ws_config.json")
Add-ons (optional) : Having the Azure CLI handy always helps. Follow the steps mentioned below to download the same:
Download the latest release from here.

Then, add the Azure ML CLI Extension, by running the following command:
az extension add -n azure-cli-ml
Step 3
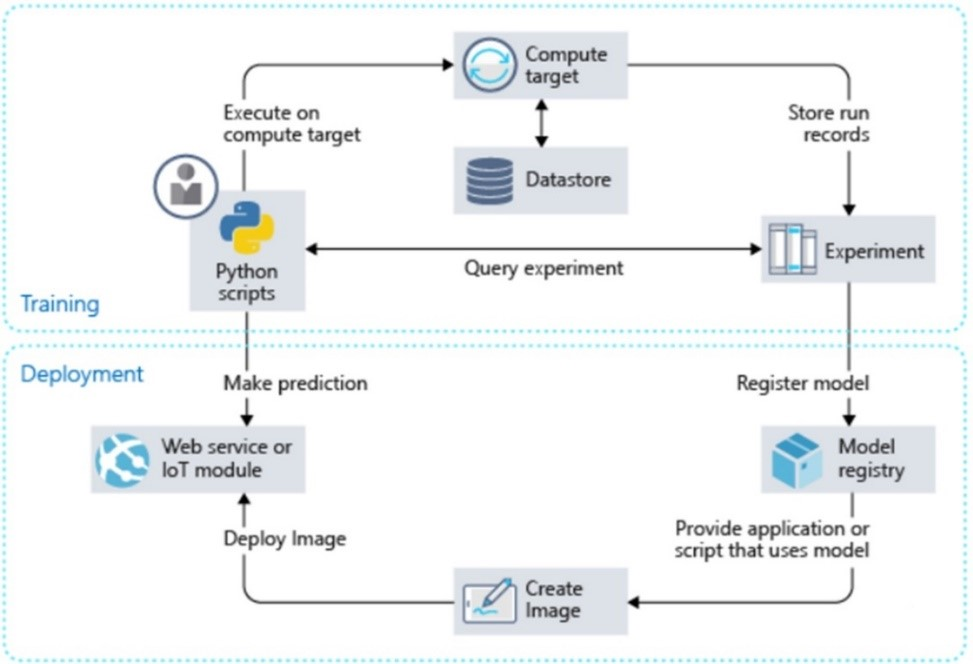
Setting up an Experiment
An Experiment object needs to be set up (especially for integrations with Automated ML). To do so, perform the following steps:
from azureml.core.experiment import Experiment
experiment = Experiment(workspace=ws, name='test-experiment')
All Model Building related activities will be performed via the Experiment Object unless specified explicitly.
Don't give up, You're halfway there !!

Step 4
Developing your Model
This step should seem familiar if you've built ML Models before. This involves coding out the ML Model (here, CNN Model).
Type the following lines of code into a .py file, named according to your preference:
import numpy as np
import pandas as pd
import os
from tensorflow.keras.optimizers import Adam
from tensorflow.keras.preprocessing.image import ImageDataGenerator
from tensorflow.keras.applications.resnet50 import ResNet50
from tensorflow.keras.layers import Dense, Flatten
from tensorflow.keras.models import Mode
from PILasOPENCV import *

df = pd.read_csv('./Crop_details.csv')

Data = ImageDataGenerator(rescale=1 / 255, shear_range=0.2, horizontal_flip=True, vertical_flip=True)

Train_Data1 = Data.flow_from_directory('./kag2', target_size=(224, 224), batch_size=1)

Train_Data2 = Data.flow_from_directory('./crop_images', target_size=(224, 224), batch_size=1)

Test_Data = Data.flow_from_directory('./some_more_images', target_size=(224, 224), batch_size=1)

Model_Wrap = ResNet50(include_top=False, input_shape=(224, 224, 3))

for layers in Model_Wrap.layers:
	layers.trainable = False

Model_flat = Flatten()(Model_Wrap.output)
last_layer = Dense(5, activation='softmax')(Model_flat)

CNN_Model = Model(inputs=Model_Wrap.input, outputs=last_layer, )
CNN_Model.compile(loss='categorical_crossentropy', metrics=['accuracy'], optimizer=Adam(0.0001))

CNN_Model.summary()
CNN_Model.fit_generator(Train_Data1, epochs=50)
CNN_Model.evaluate(Train_Data1)
CNN_Model.evaluate_generator(Train_Data2)
CNN_Model.evaluate(Test_Data)

CNN_Model.save('CNN_Plant_Recognition.h5')
Step 5
Registering your Model
Now that you've created your Model, Register the model in your workspace, which makes it very easy to Manage, Download and Organize your Model.
To do so, type the following lines of code:
from azureml.core.model import Model

model = Model.register(workspace=ws, model_path="./", model_name="CNN_Plant_Recognition.h5")
model.download(target_dir=os.getcwd()) #Downloads the Model into the pwd
Step 6
Deploying your Model
With all the work done, it's time to deploy ‼️
Use the following code to set Deployment configurations and finally, Deploy your Model ‼️
deployment_config = AciWebservice.deploy_configuration(cpu_cores = 1, memory_gb = 1)

service = Model.deploy(workspace = ws,
					   name = "my_web_service",
					   models = [model],
					   inference_config = inference_config,
					   deployment_config = deployment_config)
YAY ! Your Model is ready to go !!

Those were a few interesting steps !! We're sure all of you can't wait to explore and test these steps on your own 🎊